Selling your Lower East Side condo in January or February can feel tricky. Gray daylight, fewer showings, and the chill of winter can dull even a great space. You want buyers to feel warmth, light, and ease the moment they walk in. This guide gives you a clear plan to stage for winter buyers, make compact layouts feel larger, match the style of your building, and run a smooth vendor workflow that fits NYC rules. Let’s dive in.
Why winter staging works in the LES
Winter usually brings fewer showings, but buyers who brave the weather are often more serious. Presenting your home well now can help you stand out while there is less competition. Your main challenge is low ambient light and interiors that can feel cold on camera and in person.
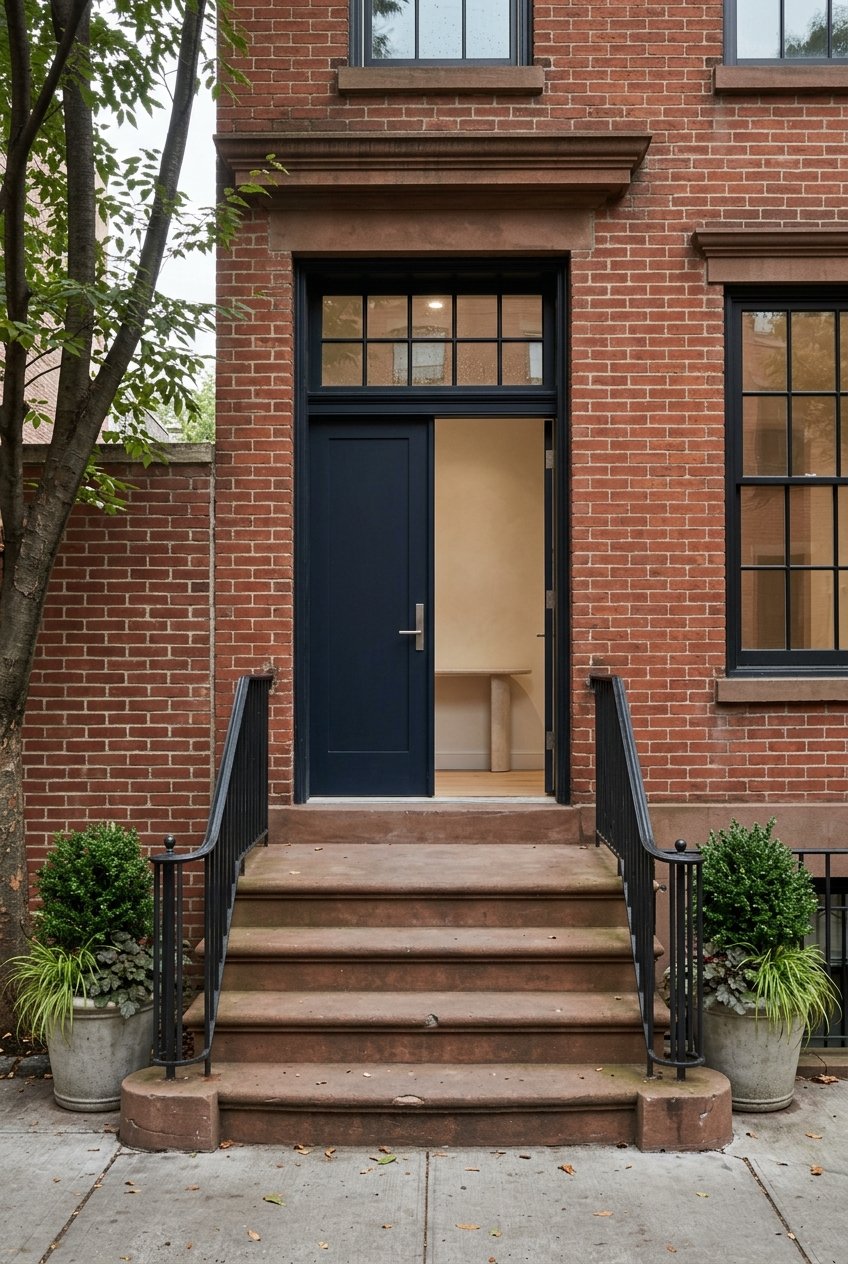
In the Lower East Side, many condos are compact and vary widely by building type. You might be in a sleek new development, a prewar walk-up, or a conversion with loft elements. Each needs a slightly different approach. You also have New York–specific logistics to plan around, like elevator reservations, building insurance for vendors, and doorman protocols. A little preparation goes a long way.
Make winter light your asset
Quick pre-photo checklist
- Open all curtains and blinds. Remove heavy drapes if possible.
- Clean windows inside and, if accessible, outside. Wipe any condensation.
- Turn on all lights and match bulb types in each room.
- Declutter counters and surfaces. Hide boots, umbrellas, and bulky coats.
- Set a comfortable temperature before photos and showings.
- Keep scents neutral. A clean smell beats strong fragrance.
Lighting that photographs well
- Choose consistent color temperature. For photo day, use bulbs labeled daylight or around 5000–5500K so rooms read bright and clear.
- Use high-CRI LED bulbs rated 90 or higher to keep colors accurate and avoid muddy tones.
- Layer light sources. Combine ceiling fixtures with floor or table lamps and task lighting to remove dark corners.
- Add mirrors opposite windows to bounce light. Pair with light-colored rugs or a reflective accent, but avoid glare on glossy surfaces.
- If you plan evening or blue-hour photos, turn on both interior and exterior lights for a warm, inviting contrast with the colder outdoors.
Coordinate with your photographer
- Book a midday shoot when daylight is strongest. If your main windows face east or west, target late morning or early afternoon accordingly.
- Ask whether they use HDR or exposure bracketing to balance bright windows and interior shadows.
- Provide a shot list ahead of time and request both wide angles and detail shots that show quality and storage.
- If you plan to use virtual staging or edits, label those images clearly in the listing so buyers know what is digitally enhanced.
Maximize compact condo layouts
Scale and flow
- Pick right-sized furniture. Use compact sofas, low-profile coffee tables, and slim consoles to keep pathways clear.
- Protect sightlines from entry to windows. Let buyers see the view or main light source the second they enter a room.
- Float a loveseat or bed a few inches off the wall to create depth. Use rugs to anchor zones in studio or one-bedroom layouts.
- Show multifunction. A small console can convert to a dining table. Nesting tables and storage ottomans signal smart living.
- Use vertical space. Wall-mounted desks and floor-to-ceiling shelving highlight storage without crowding the floor.
Visual tricks that read in photos
- Keep walls light and neutral. Add color with easily removable accessories.
- Use one well-sized rug per zone so groupings feel intentional.
- Be selective with gloss and mirrors to magnify depth and light while avoiding clutter reflections.
- Install minimalist window treatments, like sheers or simple roller shades, to let in maximum light and keep frames visible.
Entry and storage
- Stage the entry as an organized micro-space. A slim bench, one or two hooks, and a single basket can show function without clutter.
- Open closets and use simple organizers so buyers see usable storage.
- In kitchens, keep counters mostly clear. Display one appliance and a small tray or bowl for lifestyle appeal.
Stage to your building type
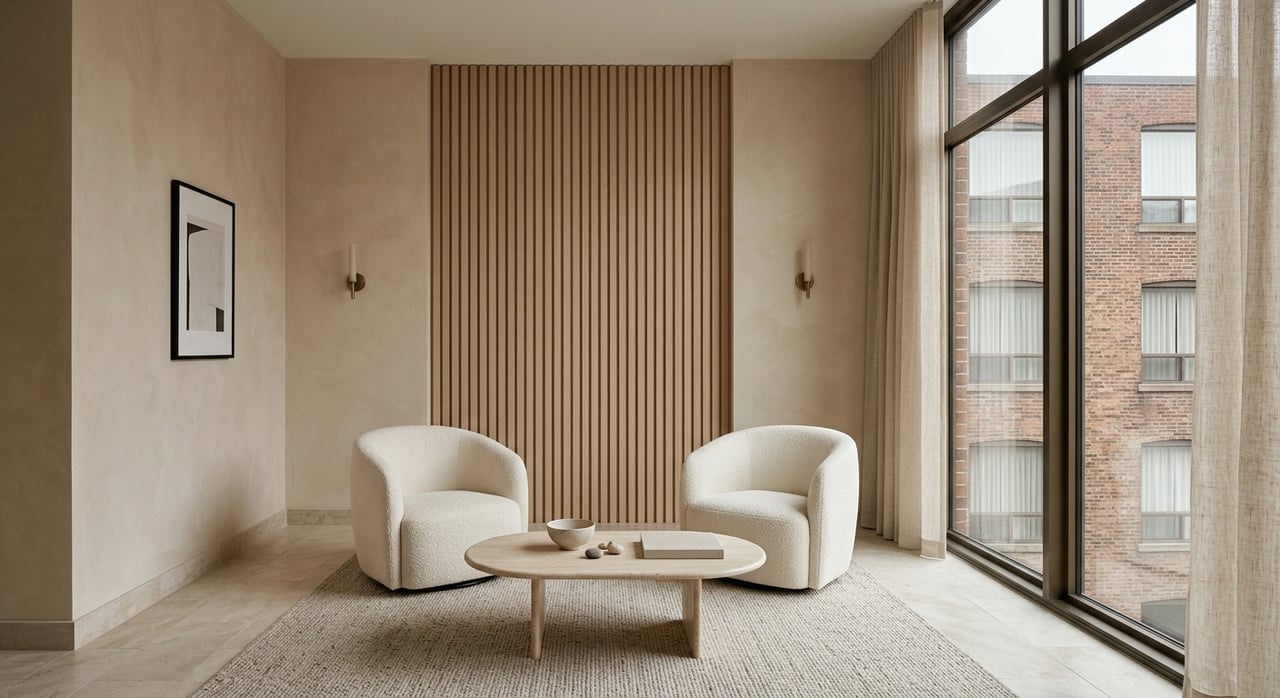
New-development condos
- Keep lines clean and the palette restrained. Soft grays, warm whites, and light woods work well.
- Use modern or mid-century inspired furniture with low profiles to emphasize open sightlines.
- Accessorize sparingly. A few coffee-table books, a sleek lamp, or a subtle tech cue like a tablet or smart thermostat works.
- Highlight amenity living in your narrative and photos if allowed. An entry vignette can nod to a gym bag or yoga mat without cluttering the space.
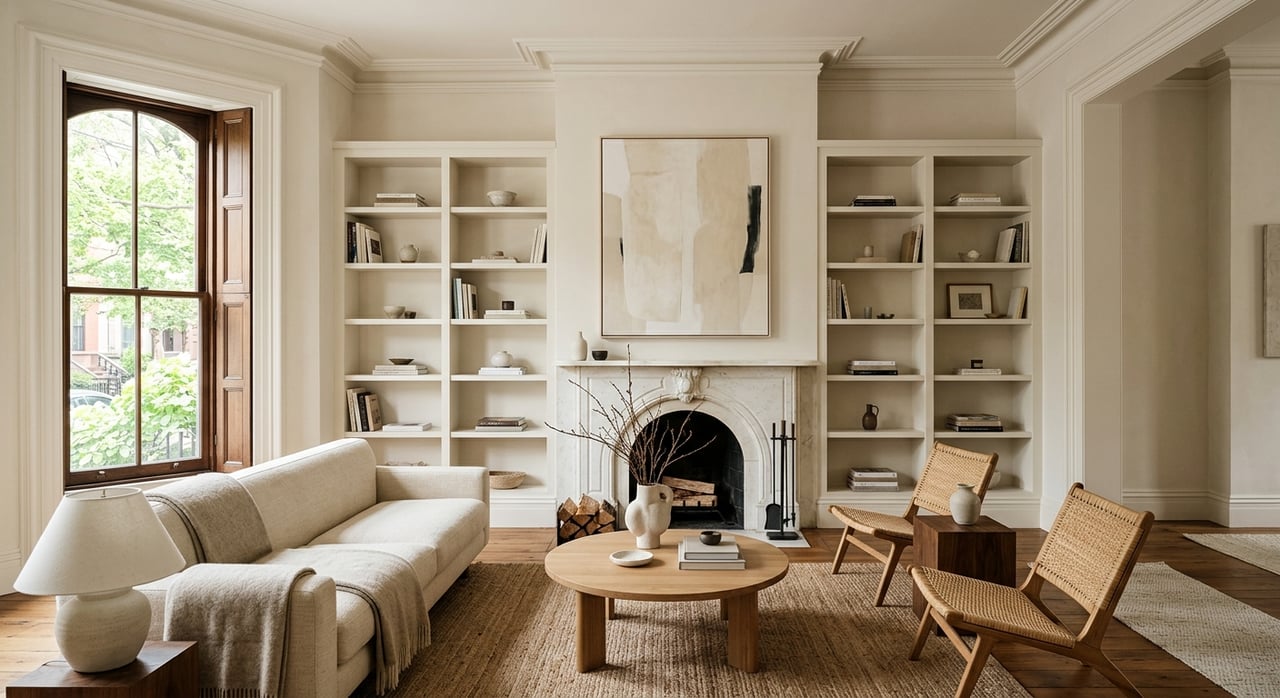
Prewar condos
- Lead with character and warmth. Layer textures like wool, leather, wood, and textured linen while keeping the overall palette neutral.
- Mix a few vintage pieces with modern comforts to bridge old and new.
- Showcase original details. Keep moldings, exposed brick, and sash windows visible rather than covered.
- Use warm bulbs and layered lamps to create a cozy feel that photographs well.
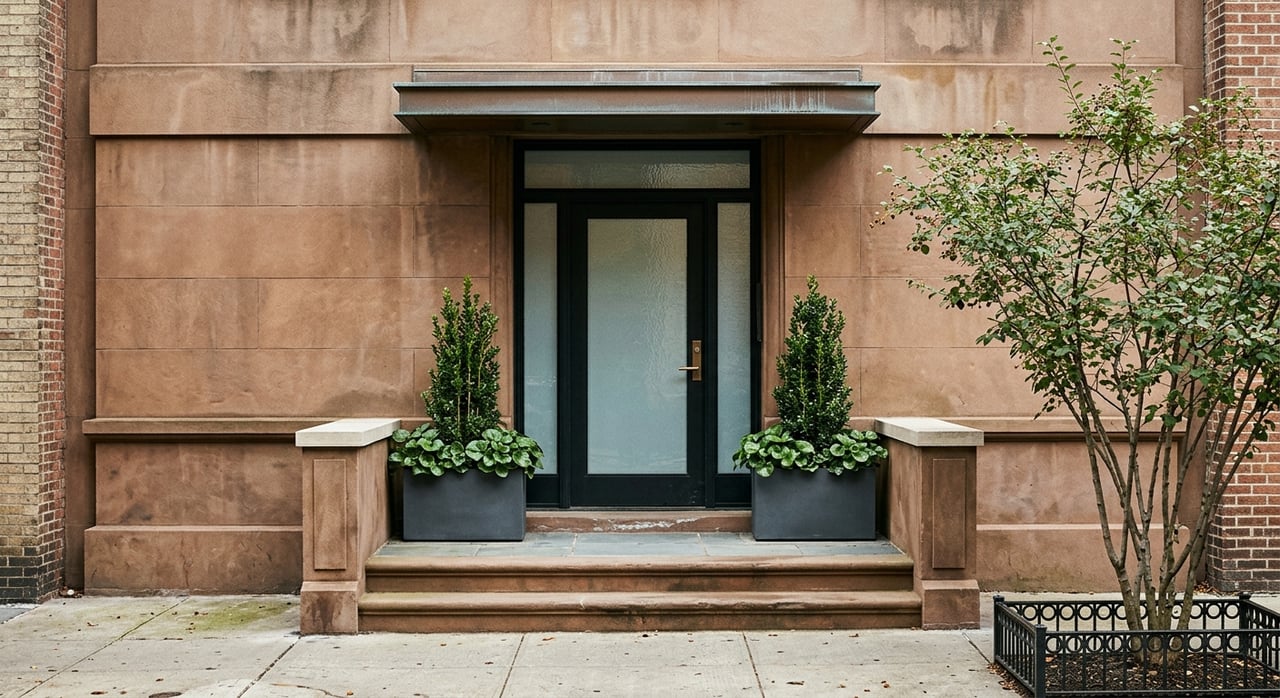
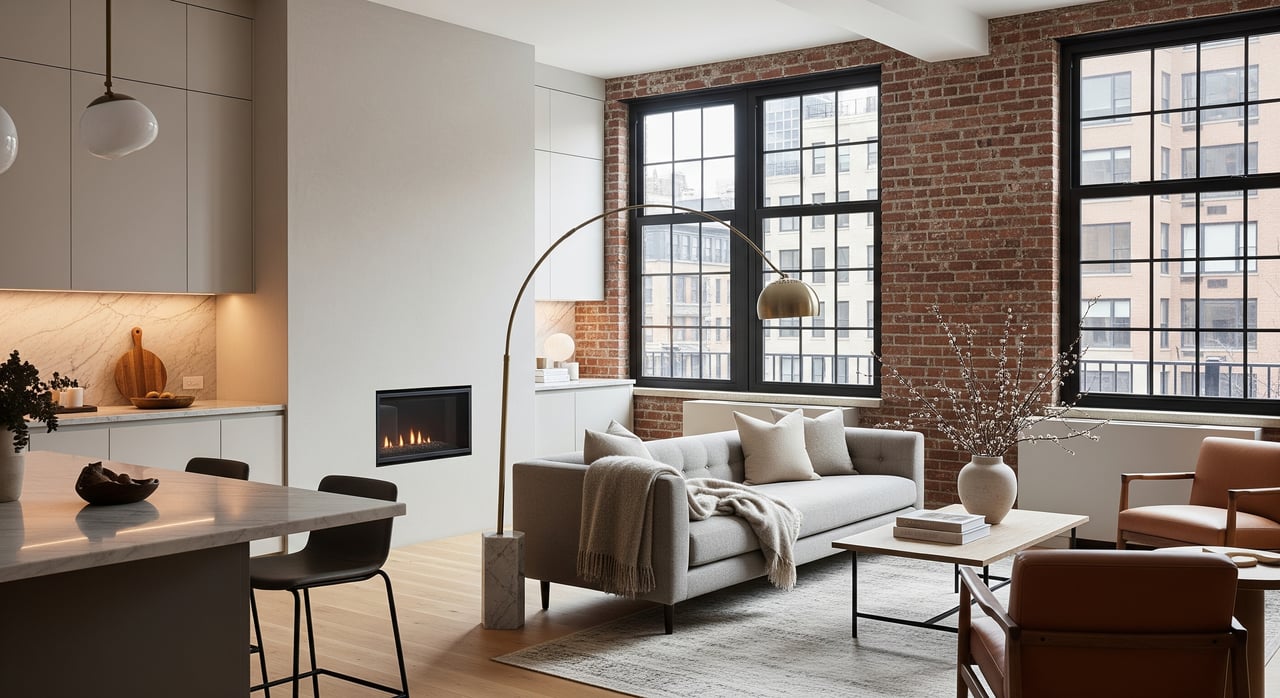
Hybrids and conversions
- Celebrate the best of both. Keep original brick or beams visible and pair them with contemporary furniture to show how the space lives today.
Before-and-after plan that sells
Imagine a compact one-bedroom near East Houston Street with limited light and lots of winter gear at the door.
- Before: Heavy curtains, mixed warm and cool bulbs, crowded sofa and large coffee table, coats and boots by the entry, dark rug, counters filled with appliances.
- After: Sheer roller shades, consistent daylight bulbs with high CRI, compact sofa with a slim table, single entry bench and basket, lighter rug to define seating, one small appliance and a bowl of fruit on the counter, mirror opposite the window.
This simple reset makes the home read larger, brighter, and more organized in both photos and in-person tours.
Vendor workflow for LES buildings
Timeline and phases
- Phase 0: Pre-engagement. Gather your floor plan, building rules, and listing window. Note upgrades and special features.
- Phase 1: Assessment and small repairs, 1–3 days. Walk through with your stager and coordinate a photo brief. Tackle paint touch-ups, lighting swaps, and loose hardware.
- Phase 2: Declutter, deep clean, minor upgrades, 3–7 days. Remove excess items, clean windows and floors, refresh paint where needed, and install high-CRI bulbs. Coordinate elevator access and deliveries with management.
- Phase 3: Staging install, 1–2 days. Deliver furnishings and accessories per plan. Your photographer can review and suggest small adjustments.
- Phase 4: Photography and virtual assets. Schedule midday interiors and blue-hour exteriors if needed. Capture wide shots, detail shots, storage, entry, and allowed amenities.
- Phase 5: Showings and maintenance. Keep a small kit on hand: vacuum, glass cleaner, extra bulbs, and a checklist to reset between showings.
- Phase 6: Post-sale pickup. Coordinate pickup per building rules once under contract.
Roles you will likely need
- Stager: leads the plan, selects furniture and accessories, organizes closets and entry.
- Photographer or videographer: interiors, exteriors, twilight shots, and virtual tours.
- Cleaner: deep clean before install and touch-ups during heavy showing periods.
- Handyman or painter: small repairs, paint, and lighting swaps.
- Building liaison or concierge: elevator schedules, access, and insurance certificates.
- Movers or delivery team: experienced with tight LES stairs and elevators.
- Optional virtual stager or photo editor: for digital enhancements that are clearly disclosed.
Winter logistics and permissions
- Reserve elevators early. Winter windows can be tight and there may be fees.
- Prepare Certificates of Insurance for all vendors if your building requires them.
- Confirm doorman protocols and delivery time windows in advance.
- Measure stairs and hallways if you are in a walk-up or a narrow corridor building. Choose pieces that fit.
- Allow extra travel time for snow or ice and clear sidewalks and vestibules before showings and photos.
Essential shot list for your listing
- Primary wide angle of the living area facing the window for maximum light.
- Alternate angle showing kitchen adjacency and overall flow.
- Bedroom wide angle plus a closet or storage shot.
- Kitchen detail showing counters, appliances, and finishes.
- Entry and hallway to demonstrate circulation.
- Building lobby and any allowed amenities.
- Twilight exterior or a window view to add mood and contrast.
Two quick checklists
Winter photo day
- Open blinds and clean windows.
- Turn on all lights and match color temperature.
- Add one mirror to bounce light.
- Remove winter clutter.
- Add one warm textile per main room.
- Set a comfortable thermostat.
Compact-layout tips
- Use scaled furniture and float pieces for depth.
- Define zones with properly sized rugs.
- Show storage in closets and the entry.
- Keep counters clear and stage one focused vignette.
Ready to list with confidence
Winter can work to your advantage when you control light, scale, and flow, and when you plan around building logistics. Present a clean, bright, and organized space that matches your building’s style and you give serious buyers a clear reason to act now. If you want a tailored plan for your condo and a seamless execution from prep to photography to launch, we are ready to help. Connect with The Horizon Team to get started.
FAQs
What makes winter buyers in the Lower East Side different?
- Winter showings often attract serious, motivated buyers, and well-staged homes can stand out with less competition compared to busier seasons.
What light bulbs should I use for winter listing photos?
- Use consistent daylight bulbs around 5000–5500K and high-CRI LEDs rated 90 or higher so rooms appear bright and colors look true in photos.
How far in advance should I book vendors for a January listing in NYC?
- Start 2 to 3 weeks ahead to lock in your stager and photographer, confirm elevator reservations, and prepare Certificates of Insurance if needed.
How do I stage a small entry in an LES condo without clutter?
- Add a slim bench, one or two hooks, and a single basket or cabinet; keep the floor clear and hide bulky items to suggest order and easy daily living.
Should I use virtual staging for my Lower East Side condo?
- Virtual staging can help if the unit is vacant; just make sure any digitally enhanced images are clearly labeled to maintain transparency in the listing.